
Starting a new garden bed:
- Commit
- The Work
- The Fun
- More Work
- Learning and Love
Commit
Deciding to commit to an all native plant bed, or mostly native, means focusing your time, doing a bit of research and planning, and getting dirty. Above all it takes patience. If you’re thinking about the ecological impact of what you grow in your yard or how you treat the natural landscape, then you probably don’t want to start with an herbicide to kill grass, weeds, or any vegetation that you don’t want, giving you a ‘blank canvas.’ Working with the environment means working with it, not against it or corrupting it or polluting it, if at all possible.
This is where planning comes in. Pick your place. Decide what areas you want to develop with more native plants. Are there any things or invasive plants that you want to move out and are capable of moving?
What are the general sun and soil stats? Is this the right place to start? Any place can accommodate some native varieties but is this a place you’re willing to work with? With doing only some basic plant research and searches, are you going to enjoy what plants may be most successful in the place you’ve chosen?


You have to be realistic. For instance if your dream is to grow a fern garden but only have full-sun, expect poor growth, possible death, wasted money and general disappointment. (Note: this is not to say there isn’t a fern that can tolerate a good bit of sun.)

Perhaps you don’t have much space at all! Native plants can make a lovely show in containers and there are also smaller growers that can do well in narrow spaces. Maybe you need to tackle a tricky slope or have an eyesore of an area with slow drainage. If you look at a challenge as an adventure and not a hassle then you will get much more out of the experience.


The Work
If you’re happy with the place, prep the soil and bed. Prepping the soil for me included collecting large (like kitchen appliance sized) and smaller boxes of plain cardboard to lay across a thick and very healthy swath of fescue grass, some of the best looking grass in our yard, in fact. Boo-hoo for the grass.
Laying out cardboard will eventually kill the grass below it. For me six months wasn’t long enough to completely kill it, though I was able to begin Phase 1 planting which was just a small portion (about a dozen plants) of my overall design (about 50 plants) of roughly 41 square feet. Though dying away, the grass was still there and the ground was firm so it made digging tough but doable.

Prepping for you may also include removing unwanted vegetation by physically digging out invasive species or other plants that don’t really offer much to the native landscape and can easily be replaced with something that will. These can be recycled in a compost pile or you can take a little more time and find a new home for them with a friend or neighbor.
The cardboard then gets covered in a layer of mulch, hardwood, pine nuggets, whatever, just not rocks. Laying out cardboard across exposed areas of your bed will also keep unwanted seedlings and weeds from germinating in your space while you create a design and prepare to plant. And leave off the landscape fabric as it prevents the plants from getting all that rainfall that they require. Your design is going to include groundcovers that will help suppress weeds and give ‘soft landings’ to insects in the future.


Prep work for my Zone 8 mixed sun/shade bed began just over a year ago in the fall of 2023. This spring (2024) I had my first installation of plants. This was the Phase 1 planting. This fall I worked (with the help of family) on Phase 2 planting which included planting the bulk of the plants for the design. In Spring 2025 I will work on Phase 3 which includes things that I’m waiting on to regrow or just grow larger, having been sown from seed (butterfly weed), and others that I just didn’t get to planting.


Here’s a snapshot of how you might expect to plant in phases based on the size and initial prepping of your soil. My timeline:
| Season | Task | Notes |
| Summer 2023 | Selection of site and observation | I was maintaining many other features of my entire yard and decided to wait until the fall to begin. |
| Fall 2023 | Bed prep and establishing the bed | Worked on garden design and researching which and where to find the plants. |
| Spring 2024 | Stage 1 planting; source plants; water | This included larger plants and ones that I had bought from a nursery in the spring of 2023. Also I potted up off-shoots and divisions from larger perennials in my yard. |
| Summer 2024 | Watering and observation; source plants if necessary | I took photographs of the change in sun exposure over the course of a day and through the summer of my bed. |
| Fall 2024 | Stage 2 planting; set up soaker hose; watering based on needs | This included the majority of the plants that I had purchased or ones that I had potted up from other parts of my yard |
| Spring 2025 | Stage 3 planting; watering; watching it all grow; modification | Fill in remainder of plants and cast seeds for things like Aquileria or Lobelia |
The Fun
Time and patience is a big part of the next step of planning but that’s okay because now you will have fun designing your new bed. While the soil is conditioning, you can do more in depth research so that you can take to pen and paper and sketch up a design and acquire your plants. This is also known as day dreaming and shopping. Sounds fun to me!
The three most important factors in choosing your place are: sun exposure, moisture and space.
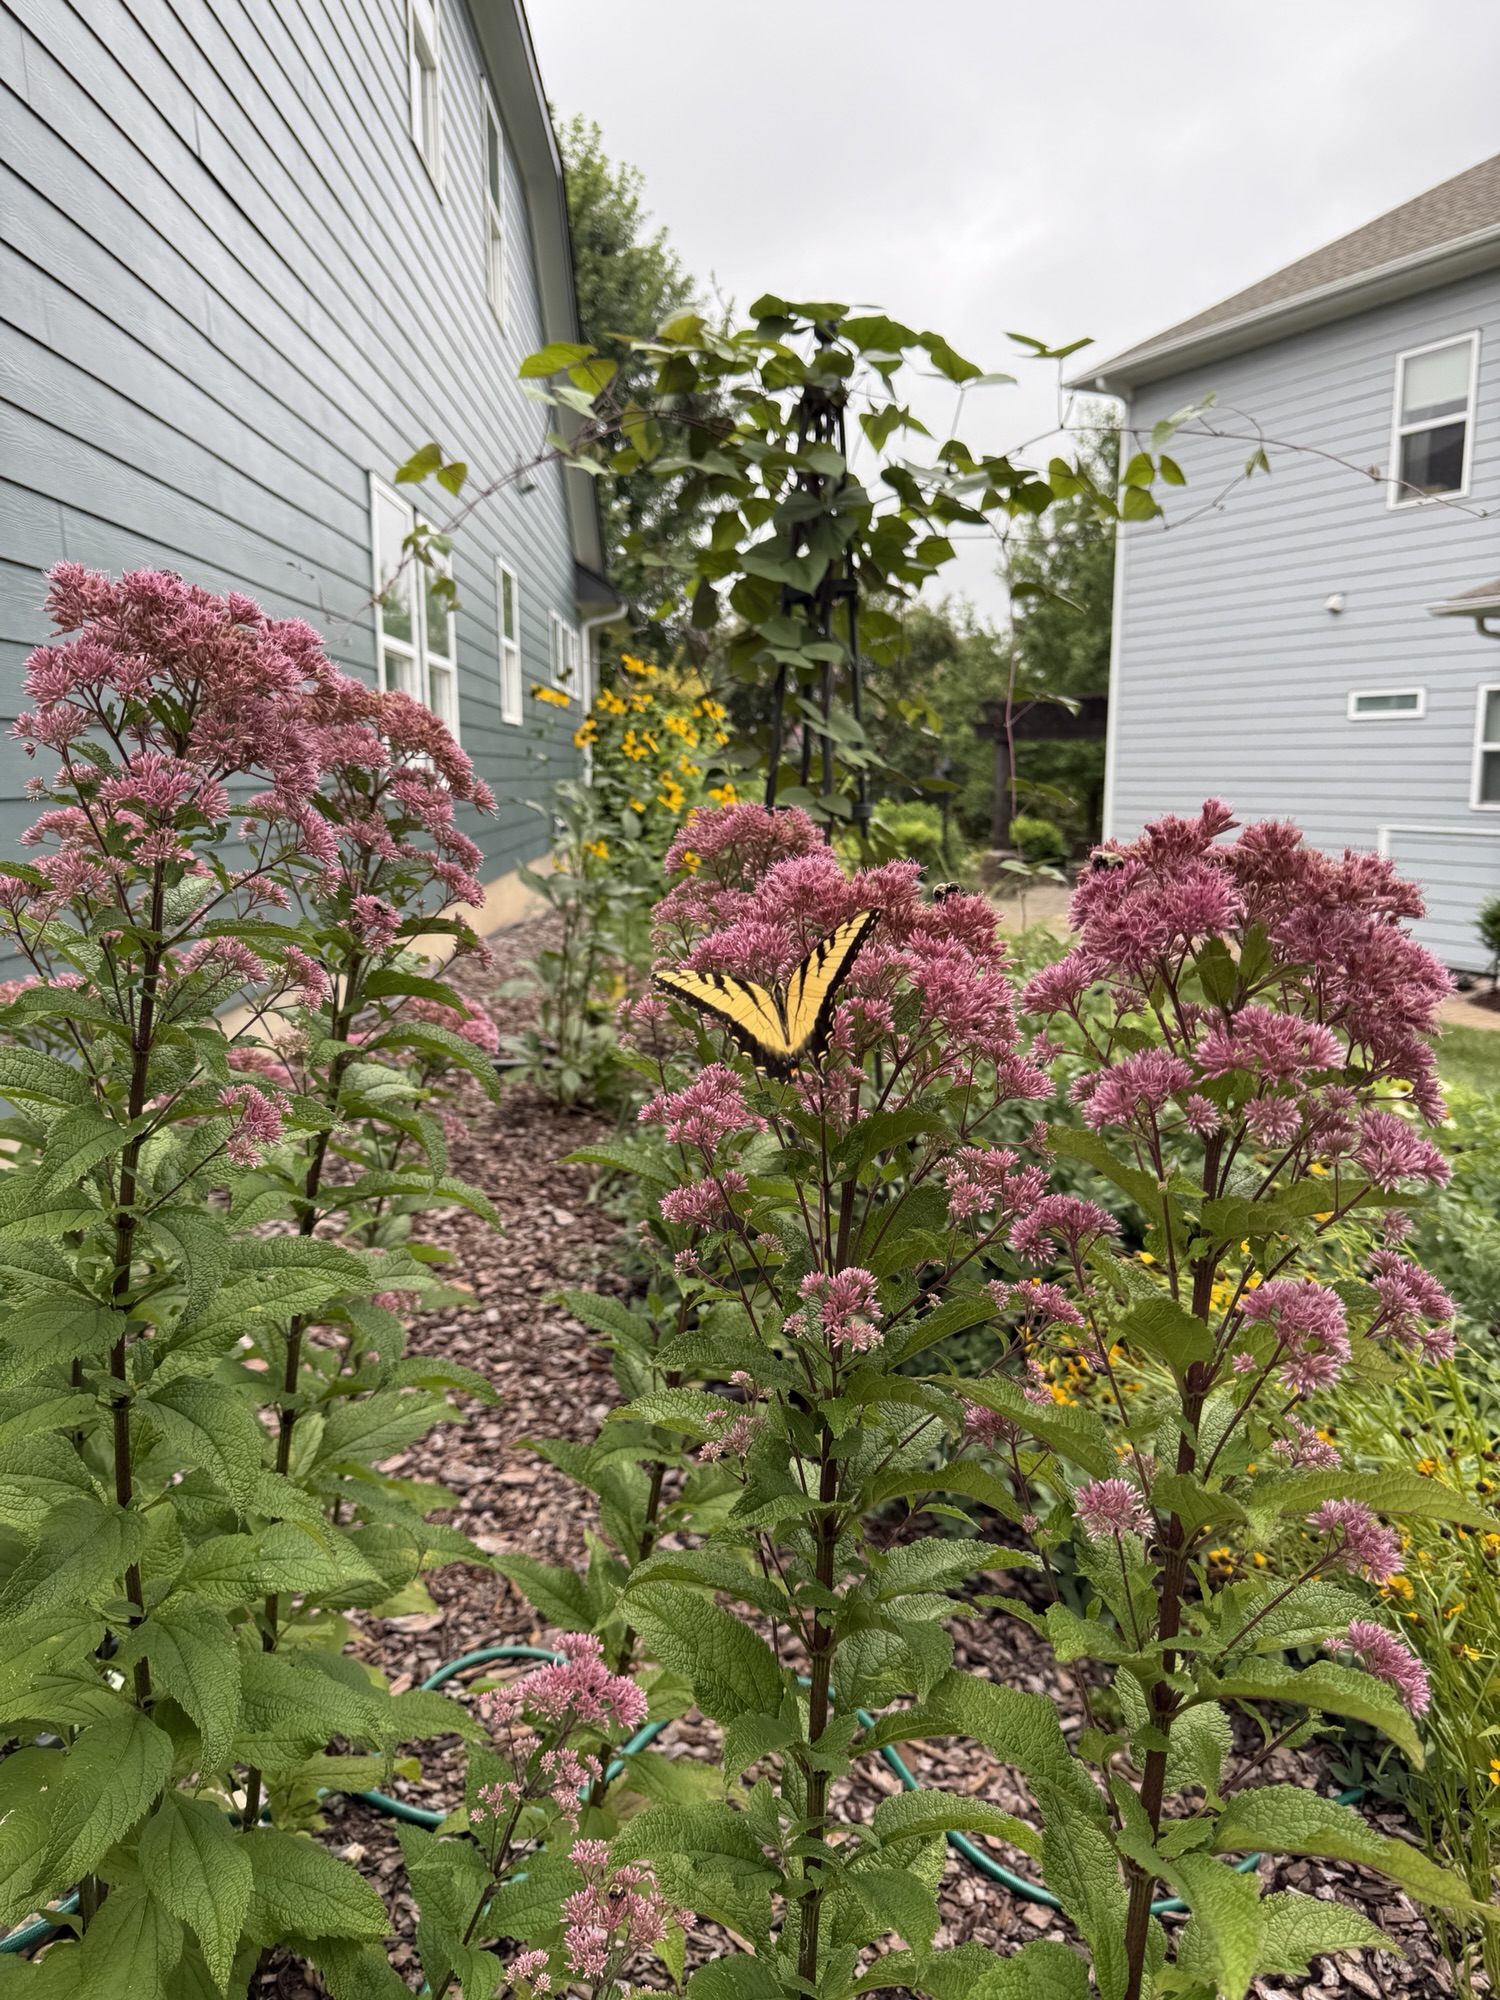
With my location selected (the big empty space on the NW side of our house), I spent several months observing just what kind of sun it would receive throughout the day, choosing the plants and sketching a general design. This is where you can have some fun drawing and decorating your outdoor space! Consider structures, pots or art that you can incorporate. A trellis, a pathway, a whirligig.


Designing may seem intimidating so here are some basic design principles to follow (but by no means limited to) so that you can have fun during this process and not sweat it! See my Reference List here for links to info on design.

– Regard the plants FULL SIZE and growth HABIT- how does it spread its roots? Is that mint variety going to be too aggressive for your workload? Does it have shallow, easy to pull roots that are worth working with for all the pure pollinator frenzy that they will provide?
– LAYERS: How will your garden be viewed? Whose view will be most important? From the sidewalk, your window or both? How will one plant affect another’s access to the sun or water? How can this be played to your advantage? Tall plants in back or middle? What will provide year round structure?
– COLOR and TEXTURE: These elements further the layer concept by considering the color patterns of plants that bloom together or structures and foliage that support and harmonize with one another throughout a seasonal cycle.
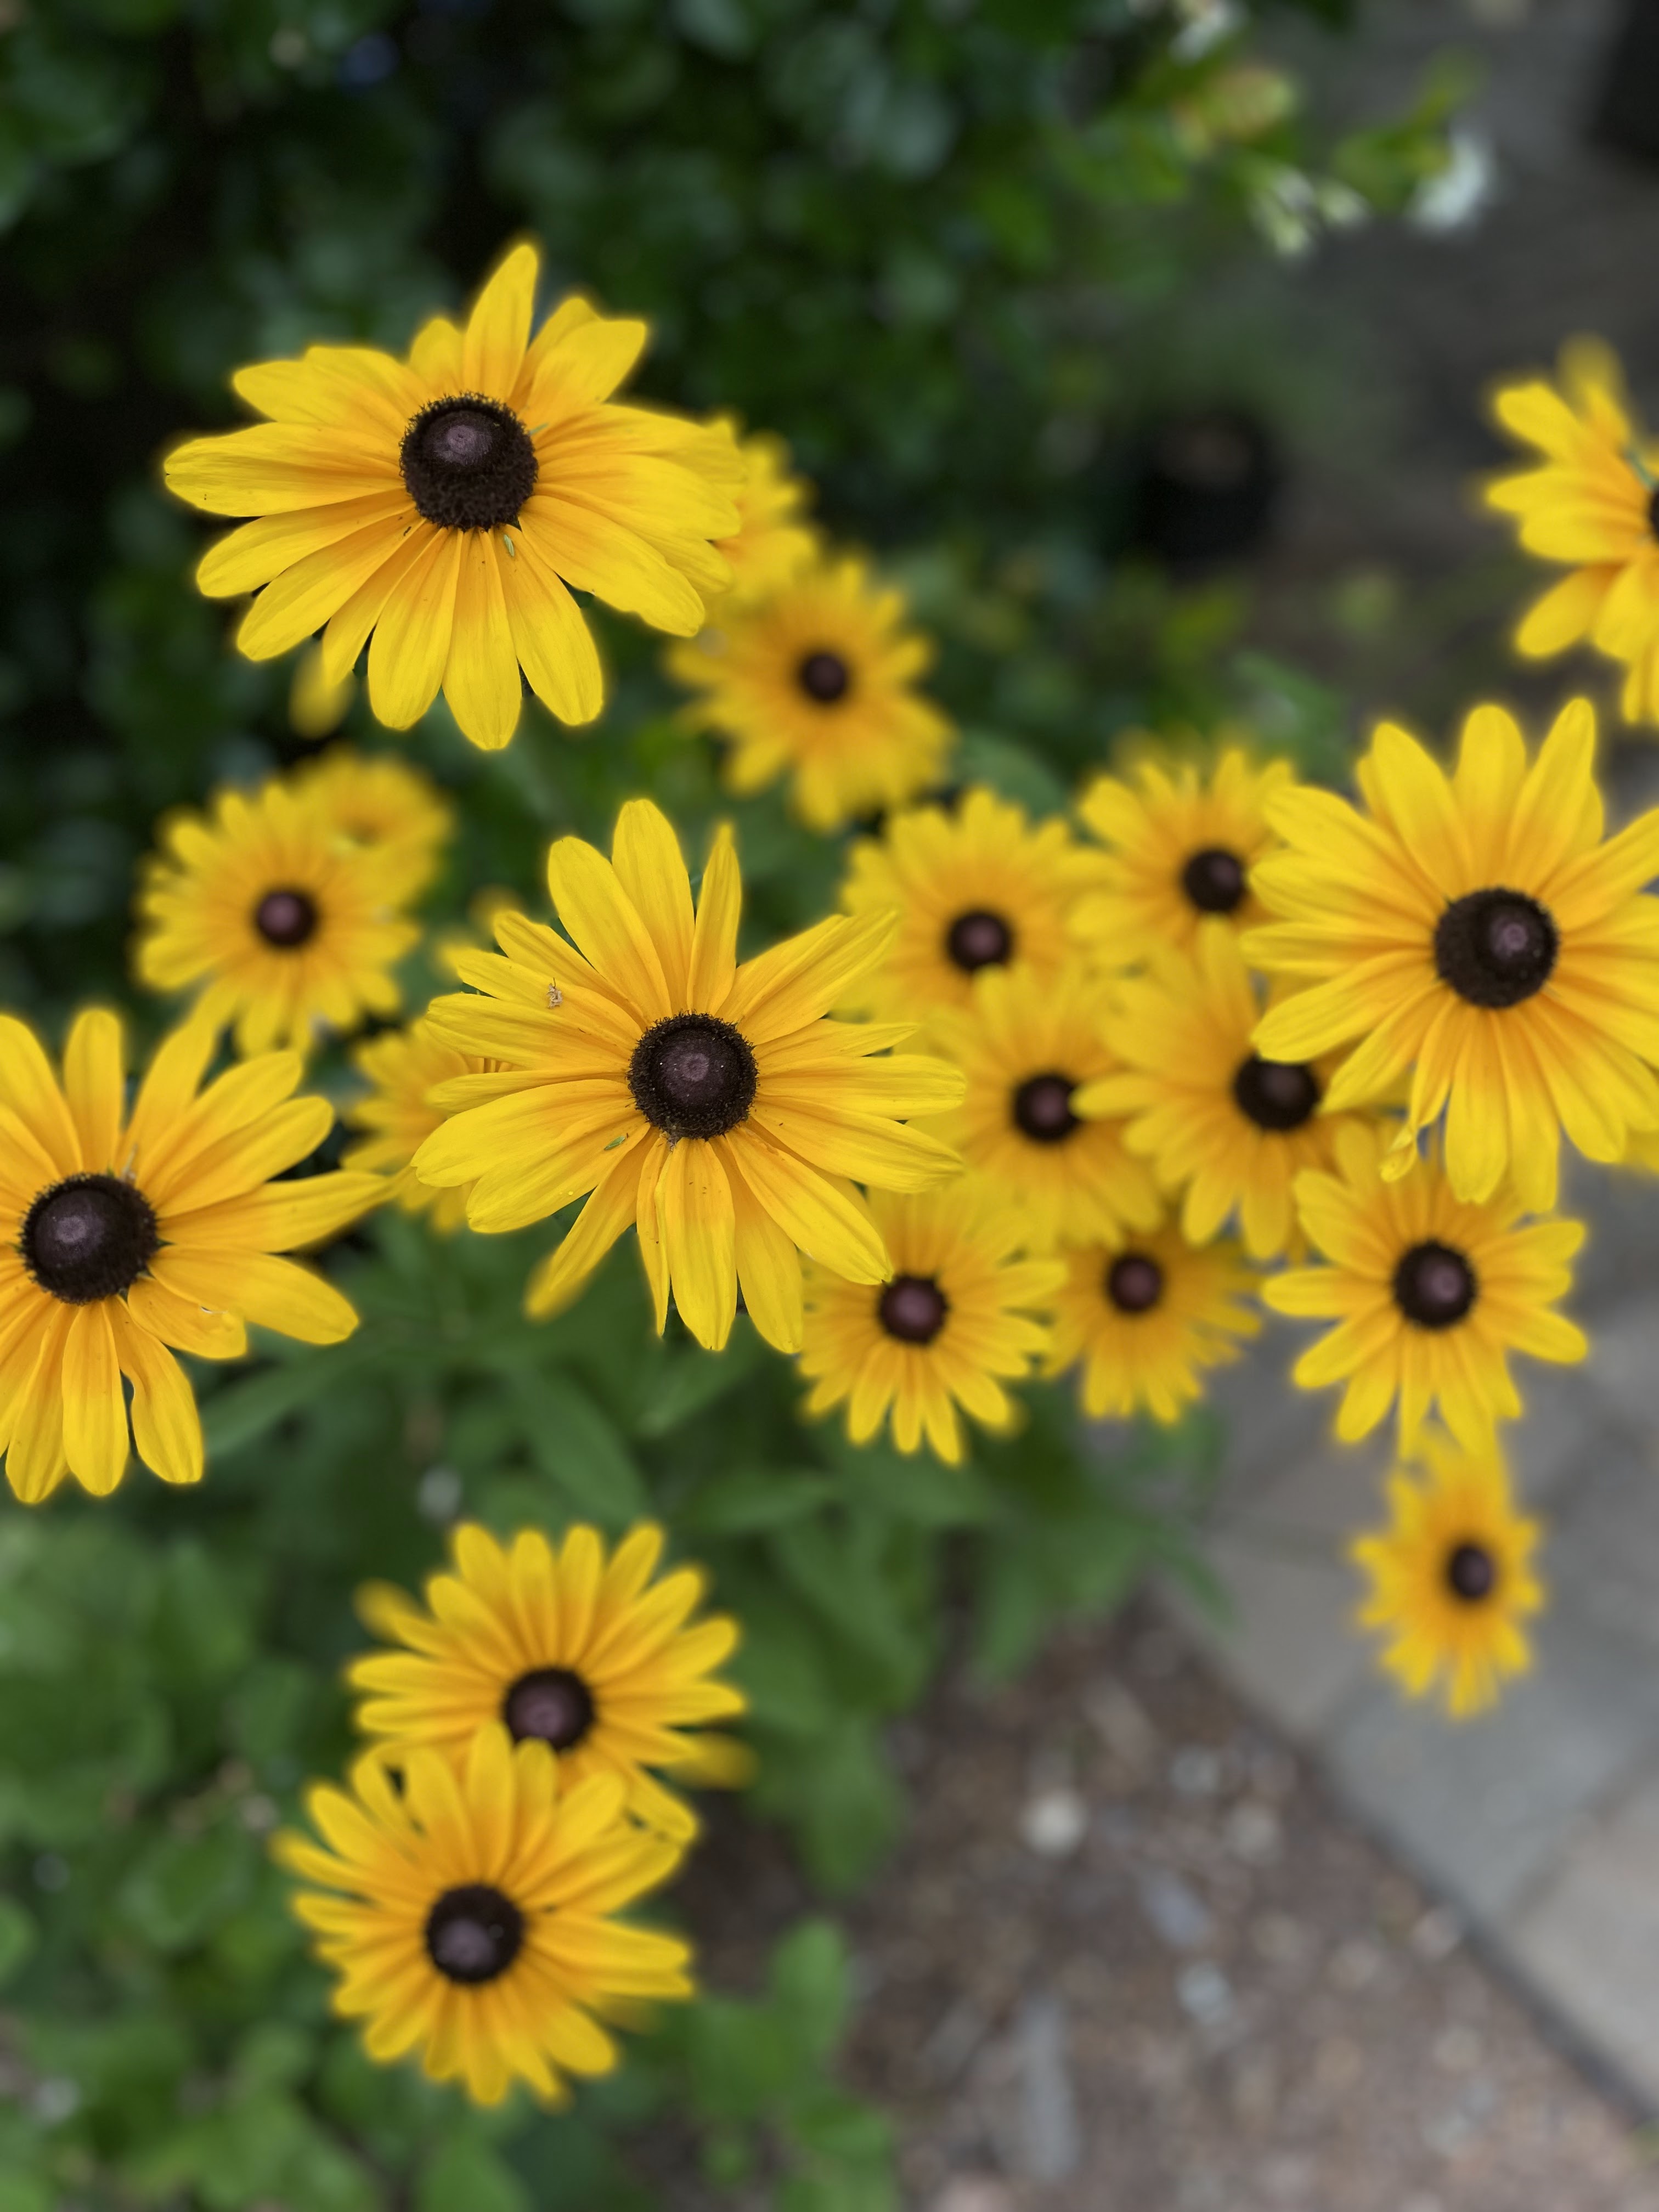
You must have come across some favorite flowers, plants, or grasses that you’d like to include in your design. Or you’re ready for new discoveries to blend with old favorites. For me echinacea is a must! And a late season blooming aster. They are such a pleasure to see in bloom while bringing in the birds and bugs.


I have always loved the hardy coneflower. Consider a straight native species before you reach for a patented cultivar or incorporate both. Do a little research first. As this is meant to be an insect friendly garden I chose varieties that fit with my design but mostly scored highly for being pollinator friendly on Mt. Cuba Center’s Echinacea trials found here. You will have to be flexible in your plant choices because exactly what you want may not be available even on a mail order site.

Note: Mt. Cuba Center in DE and the Chicago Botanical Gardens plant trials are a great reference for more detailed plant information and comparisons (pollinator counts, bloom times, plant resiliency). See my Reference Page here.
The purple blooms of an aster arising later in the season will gradually flush together in the most beautiful display, with their dainty yellow centers. It is a tough plant that is beloved by bees. Pick other late summer bloomers in yellow to compliment the blooms. Rudbeckia varieties, Solidago or Coreopsis.
For instance, using the Mt. Cuba Center trial synopsis for Amsonia varieties helped aid my expectations for bloom times of my Baptisia ‘Sunny Morning’ variety alongside Amsonia hubrichtii which may miss its peak bloom time with this Baptisia but will nonetheless be a perfect element to add a different texture of foliage in the mix and also some fall color.


I’m excited to see how the bloom times truly pan out (keep a record and write down what starts blooming when and for how long). The light exposure may mix it all up. It’s a test zone in lightning for sure for the location that I have. And remember it’s okay to say, ‘This is an experiment. I don’t have to be a show worthy gardener. And frankly the insects don’t care!’
More Work
I’ve already mentioned how I have added my garden in several installation stages, as well as planning, prep and design. It is helpful to have a realistic timeline especially when it comes to sourcing your native plants or growing your own from roots or seed.


One of my absolute biggest obstacles when I began to add more natives to my yard four years ago was getting my hands on the plants. You can design for days but if you can’t even find that perfect plant for your perfect spot then what are you going to do?
Thankfully since my shift to native gardening the availability of native varieties has increased quite a bit but I’m still driving hours to source certain plants. Yes, hours. Is this a surprise? Do you have a similar situation where you are located? Is it not incredibly frustrating how that spotted bee balm is always out of stock but there are plenty of new varieties of Echinacea? Don’t get me wrong, I love Echinacea, but I would like that variety of plants that will carry color and structure throughout the year.


There are ways to overcome this availability obstacle: patience and persistence (do some research, you may have to drive further), try from seed, mail order seed, plants or plugs or source from other gardeners’ divisions or your own. There is a certain satisfaction in bringing home beautifully blooming plants in spring as they flood the garden center shelves, but this won’t always be the case when you’re setting up a native garden. Try to resist those darling blooms and stick to your plan.
Learning and Love
Beauty reveals itself. It builds on life (must sprout from somewhere) and is fueled further by simple love and appreciation. If you love it, you care for it. You go out and water; you dig up and re-pot or relocate it if it’s struggling; you brainstorm solutions for better management; you tweak your original designs and plan for there being some change, whether expected or not.


I am a garden nerd so I like to keep drawings, databases, lists, notes and lots of photos of all the plants that move in and out of my yard. These records remind and inform me of what’s what. I learn from writing and recording information. It helps me keep track so that I can spend more brain time researching and exploring other gardens out in the world and different aspects of horticulture and ecology.

Part of the fun of gardening is visiting other gardens and experiencing the joy of open space and manicured beauty, but this can also be a learning experience. There are also a plethora of YouTubers and bloggers offering information online. There are organizations, institutions and universities that offer (for fee or free) seminars/ webinars, community classes or entire degrees. And don’t forget books!
Mostly enjoy your experience and don’t get bogged down in too much research. Seeing what others can do is great but don’t let that admiration stunt your own efforts or diminish your experience and joys.

Learning by doing is key. I look at everything that I plant now as an experiment and a trial. Though more formal botanical gardens, parks and community spaces are establishing and working with native plants, it is often difficult to see what native plants look like and how they perform in a typical suburban yard. This becomes your opportunity! Your expression, your enjoyment and a vigorous habitat for all the other living things.
What are your plans?
Have you been thinking about starting a little patch for pollinators in your garden? Are you looking to just down-size the grass and go bigger with natives to boost your property’s ecological value? If so, learn more about my process in choosing plants here in A New Native Bed: Selection Process.
I hope this information helps in planning your borders and beds. Also see my Native Garden Reference Links here, it’s being updated all the time.
Coming up next is A New Native Bed: Inspiration


Leave a Reply to A New Native Bed : Selection Process – SevernistaCancel reply